iPcas Floppy Drive Emulators
From this: 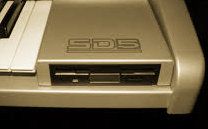 To This:
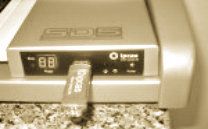
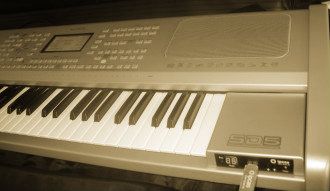
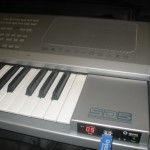
KETRON SD 5 Keyboard: Floppy Disk Drive retrofitting – USB Floppy Emulator
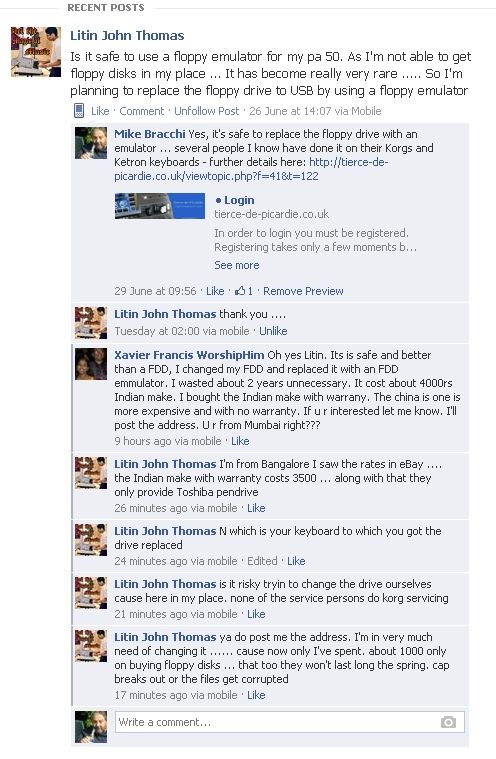
Guest Post from an ipcas customer in Germany:
(Translated, original post in German language)
USB Floppy Emulator for KETRON SD 5
In older keyboards – e.g. in my KETRON SD 5, the input device is a floppy drive und the internal RAM memory is supplied with information by a floppy disk.
I would never replace my KETRON SD 5 with a modern keyboard however; the reason is the good quality.
With the IPCAS USB floppy emulator for USB pen drives, the known disadvantages …
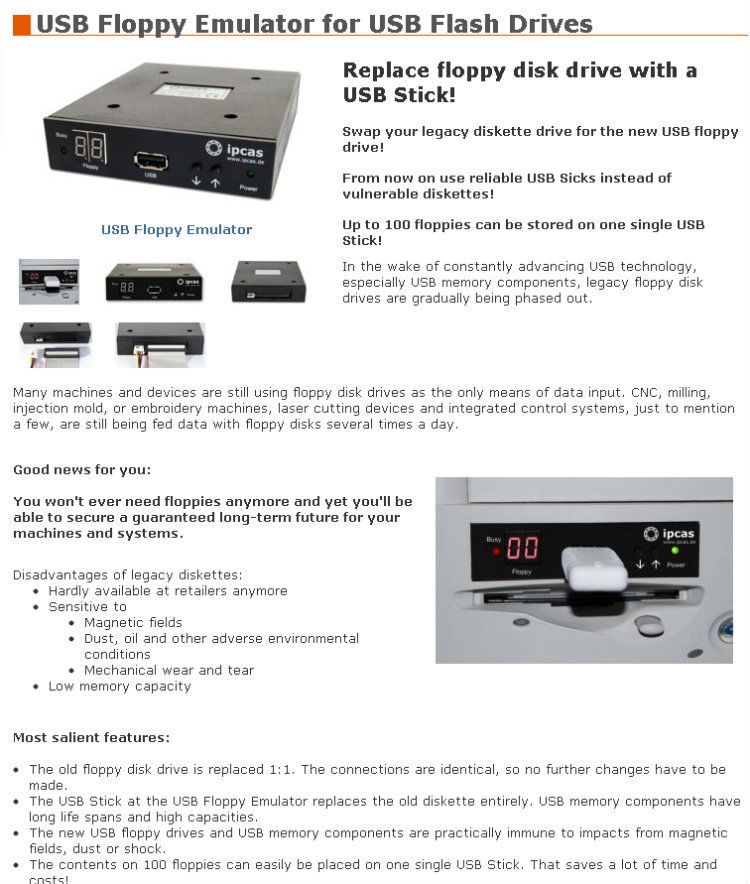
Most salient features:
Now the keyboard will switch on and the floppy drive (with inserted USB flash drive) are energize and the keyboard reports: not formatted.
After that, the format command must be executed according to the display information.
Then the emulator should set to 01 (with the Up button). The UP switching and formatting and will resist until 99.
If the formatting performs, you play the songs on the respective place (00-99), then – start playing – as usual.
When the formatting is completed, copy the songs on the respective place (00-99). Afterwards, as usual, start the playback.
To This: KETRON SD 5 Keyboard: Floppy Disk Drive retrofitting – USB Floppy Emulator
Guest Post from an ipcas customer in Germany:
(Translated, original post in German language)
USB Floppy Emulator for KETRON SD 5
In older keyboards – e.g. in my KETRON SD 5, the input device is a floppy drive und the internal RAM memory is supplied with information by a floppy disk.
I would never replace my KETRON SD 5 with a modern keyboard however; the reason is the good quality.
With the IPCAS USB floppy emulator for USB pen drives, the known disadvantages …
- Sensitive to mechanical wear and tear
Problems with dust, oil and other adverse environmental conditions
Malfunction due to permanent mechanical load
Low memory capacity
Most salient features:
- The old floppy disk drive is replaced 1:1. The connections are identical, so no further changes have to be made.
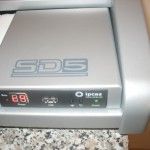
The USB Stick at the USB Floppy Emulator replaces the old diskette entirely. USB memory components have long life spans and high capacities.
The new USB floppy drives and USB memory components are practically immune to impacts from magnetic fields, dust or shock.
The contents on 100 floppies can easily be placed on one single USB Stick. That saves a lot of time and costs!
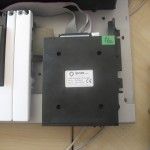
- Opening the keyboard (screws located on the bottom)
Slide back the panel of the keyboard
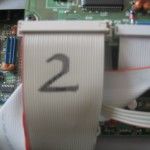
Removal of the floppy disk drive (FDD)
Detach of the data cable from the floppy drive controller
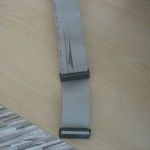
Inserting a floppy controller computer cable to the floppy connector
Connect this cable and the power supply cable (4-pin.) to the emulator.
Now the keyboard will switch on and the floppy drive (with inserted USB flash drive) are energize and the keyboard reports: not formatted.
After that, the format command must be executed according to the display information.
Then the emulator should set to 01 (with the Up button). The UP switching and formatting and will resist until 99.

If the formatting performs, you play the songs on the respective place (00-99), then – start playing – as usual.
When the formatting is completed, copy the songs on the respective place (00-99). Afterwards, as usual, start the playback.