Click onto the Index Titles below to be taken directly to that Topic.
After viewing, click the back-arrow to get back to this page.
INDEX
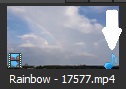
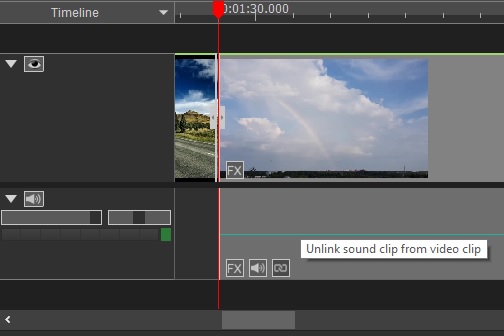
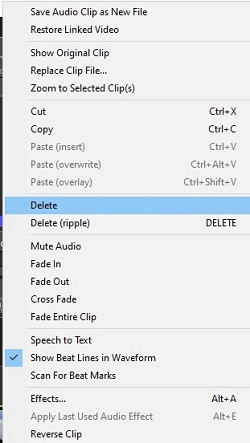
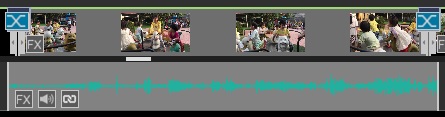
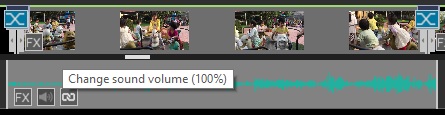
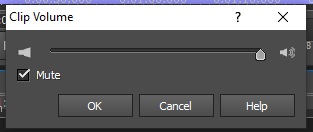
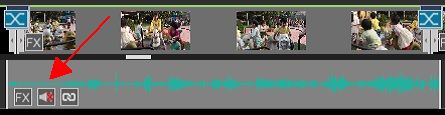
AUDIO on Imported Video Clips (Removing Audio from imported video clips)
AUDIO (Adding your own MP3 Audio Track to your Project)
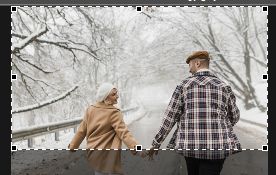
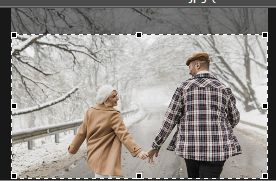
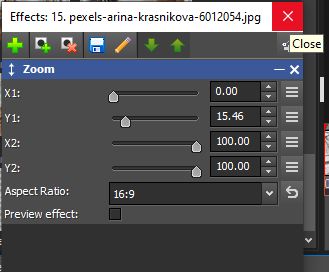
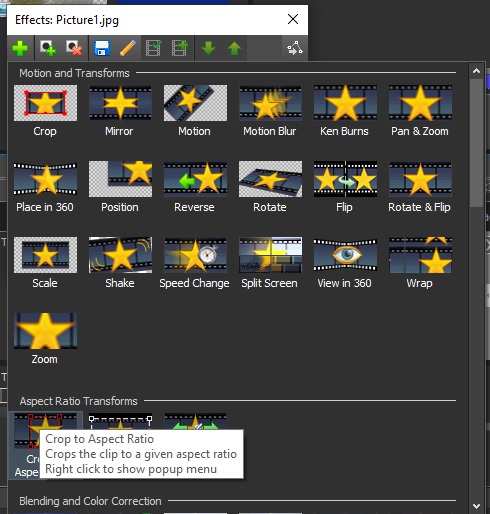
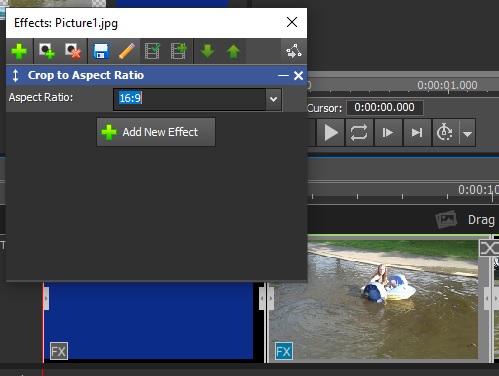
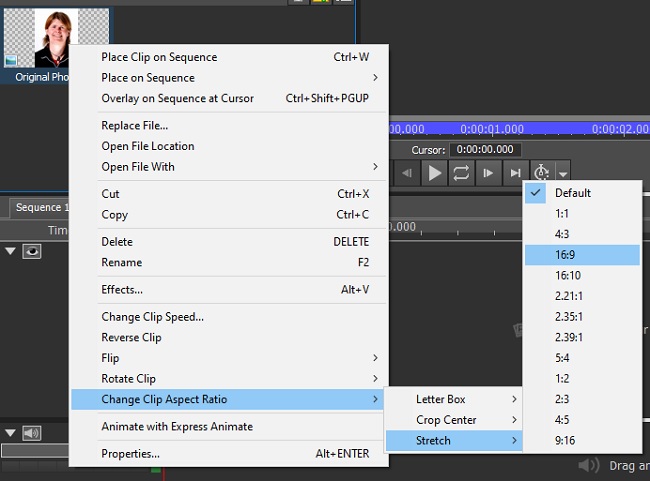
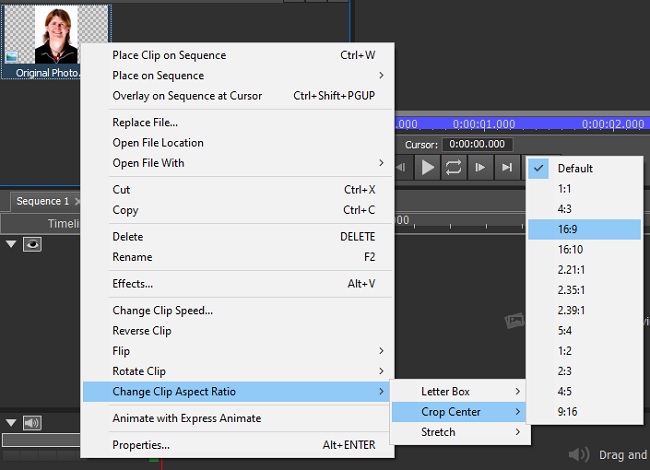
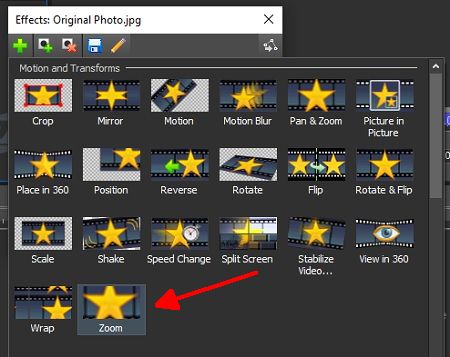
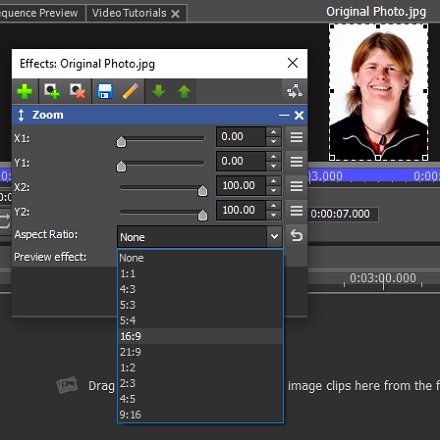
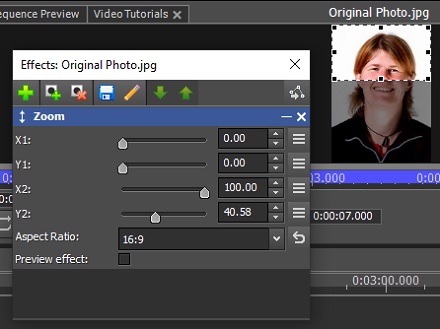
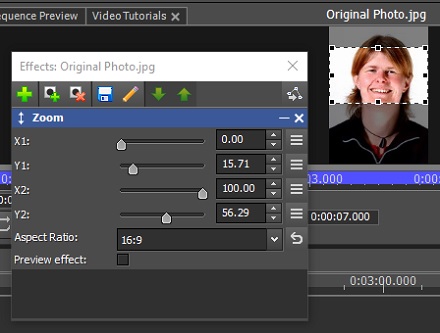
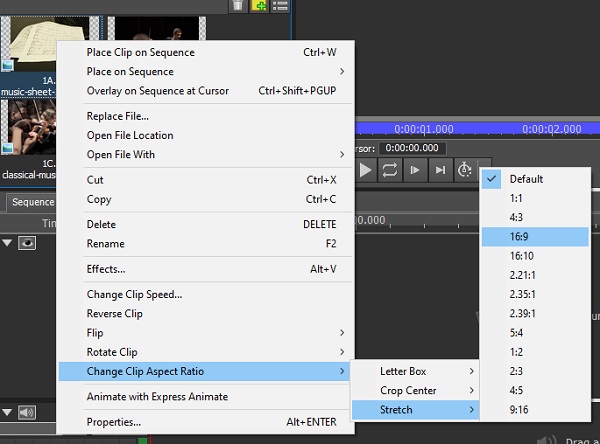
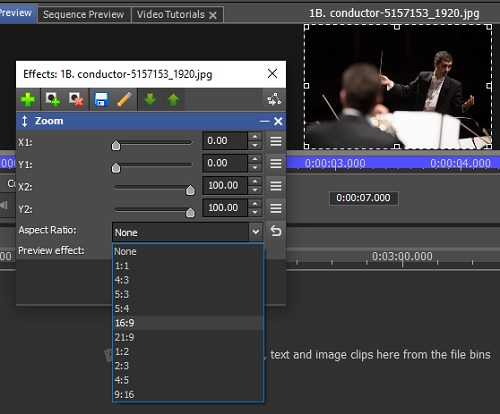
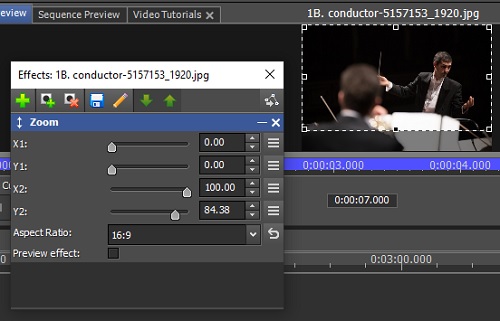
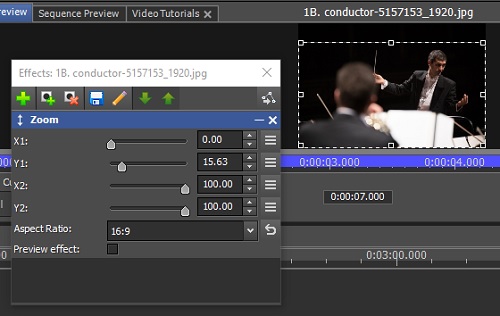
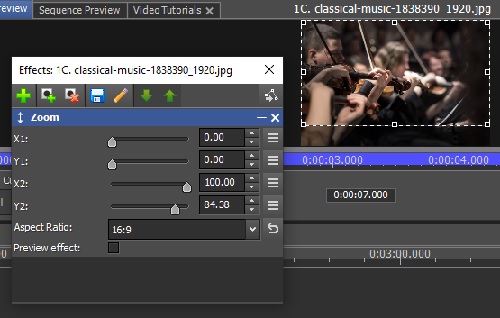
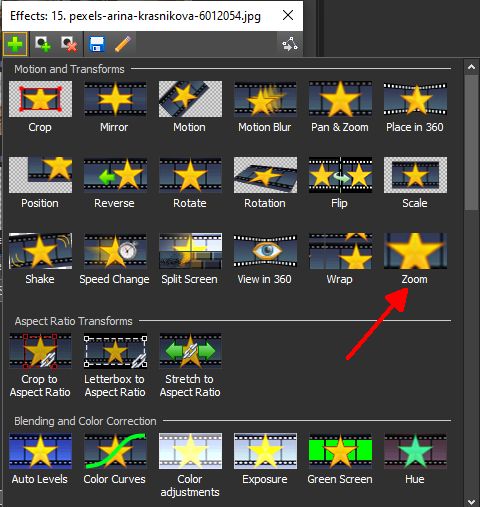
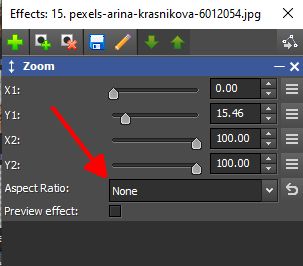
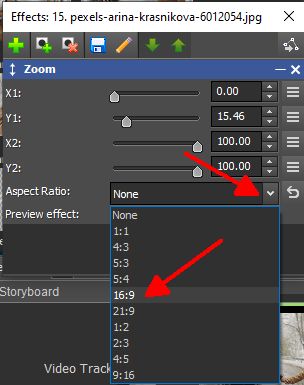
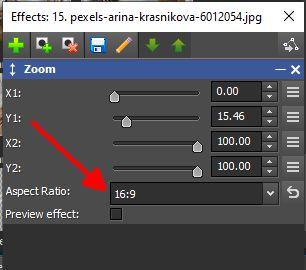
BLACK BARS (Getting rid of the black bars either side, or top and bottom of a photo using ZOOM)
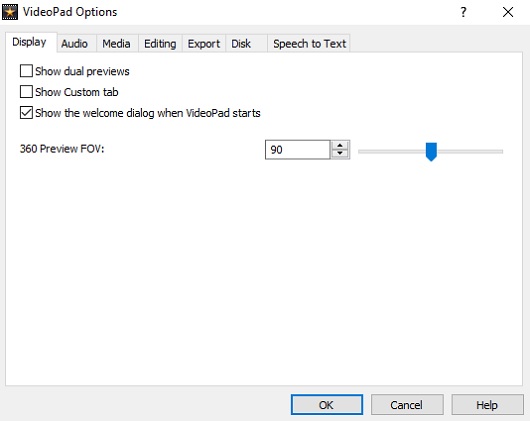
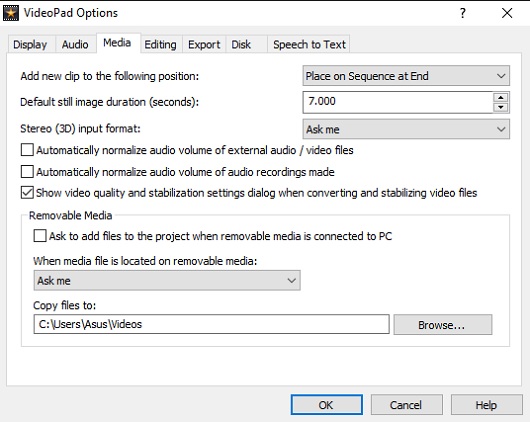
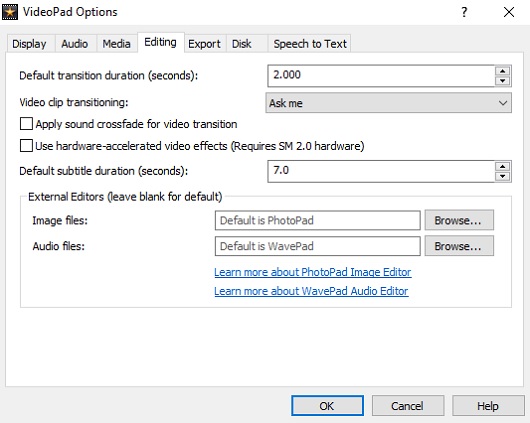
DEFAULT OPTIONS (Setting up the Default Options for the Program)
INTRODUCTION (An overview of what the program looks like, and what the program does)
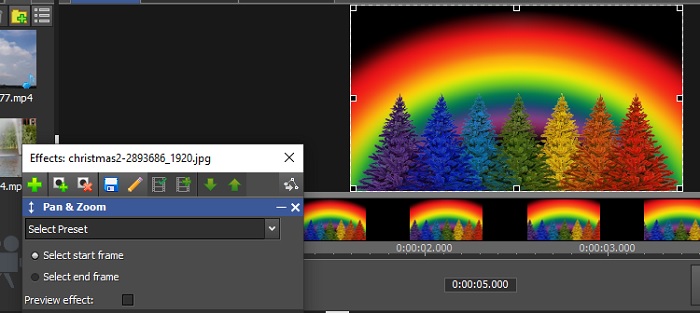
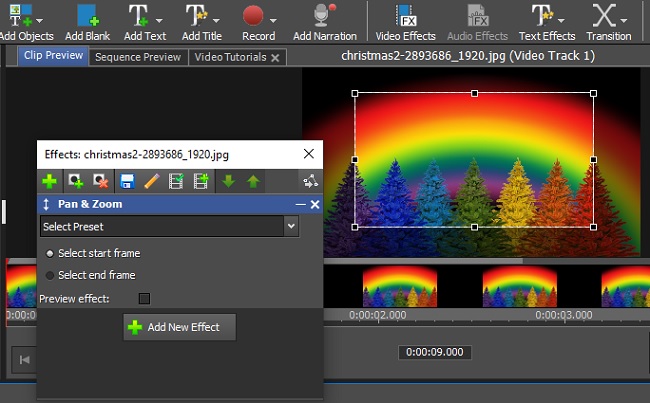
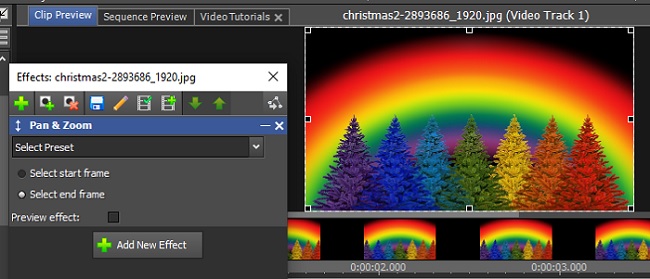
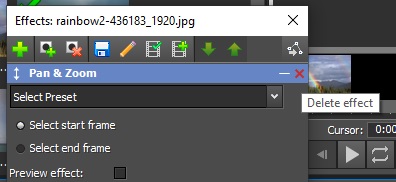
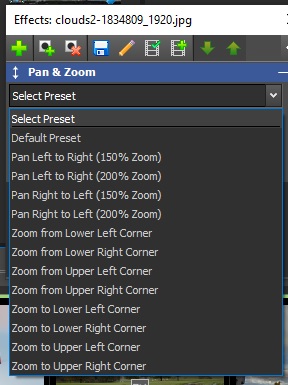
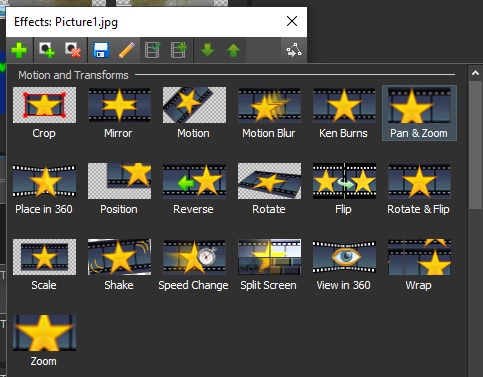
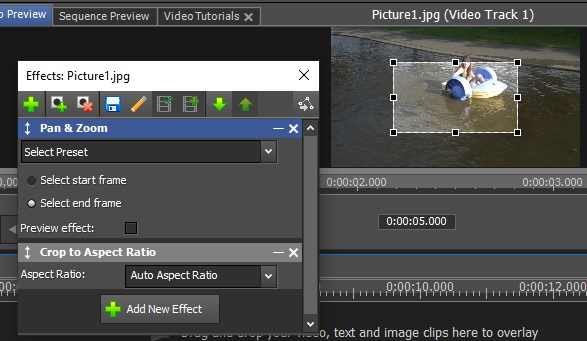
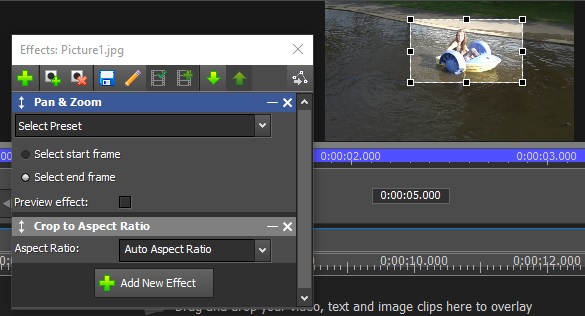
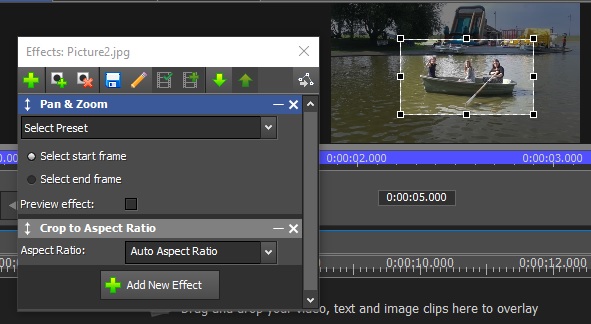
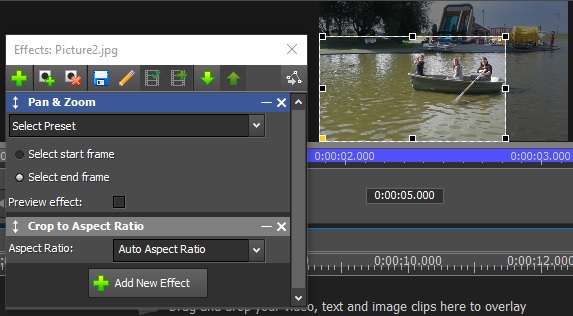
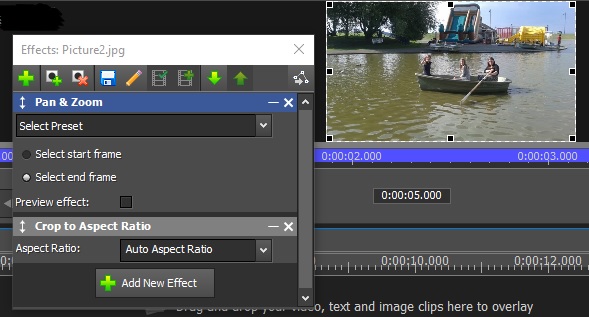
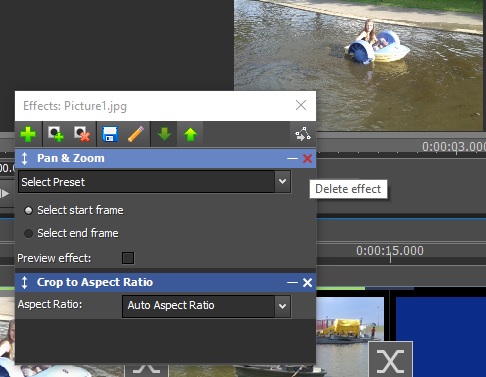
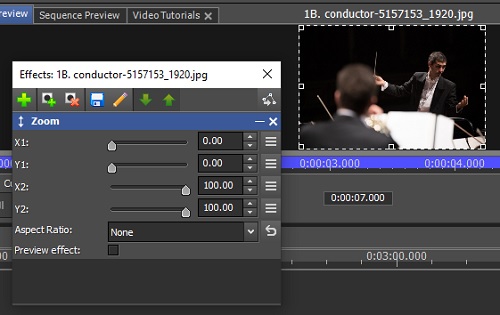
PAN & ZOOM (Adding the Pan & Zoom Effect to your clip)
SUBTITLES (Adding Subtitles to your Movies)
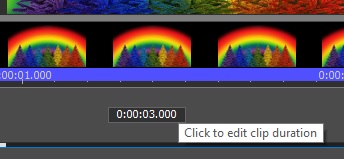
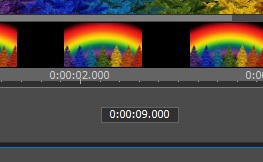
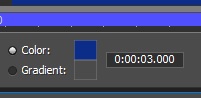
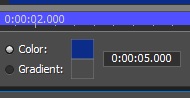
TIME (Changing the time an image displays)
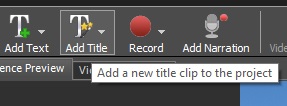
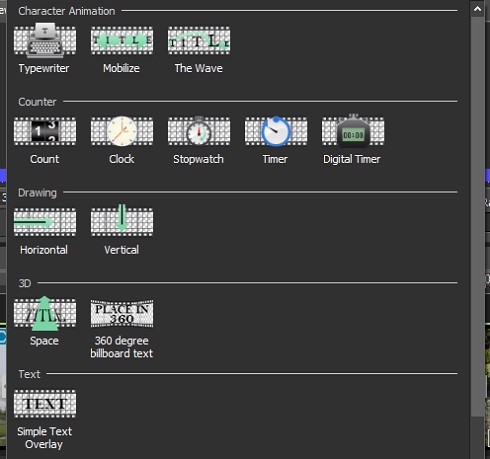
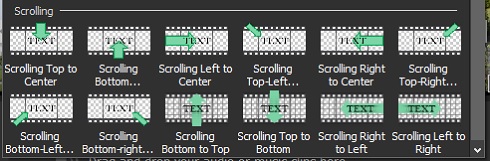
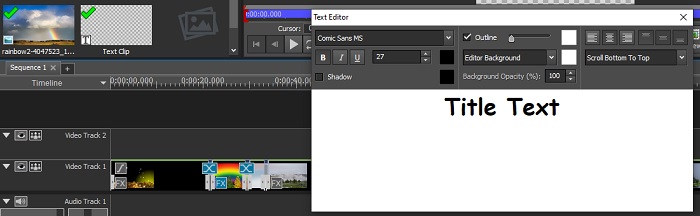
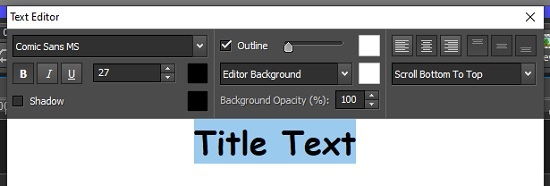
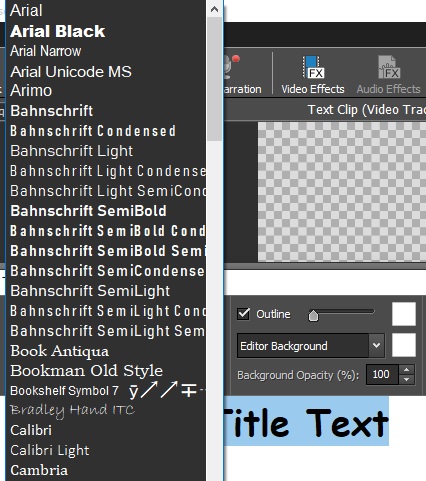
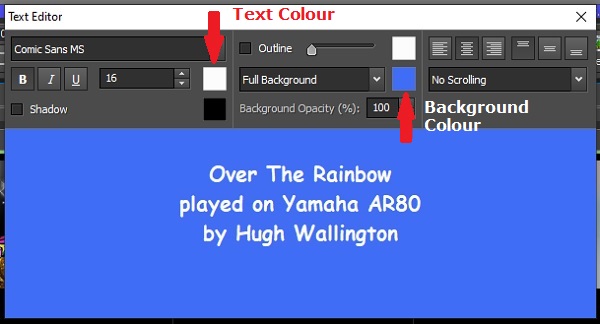
TITLE (Creating a Title for your Movie)
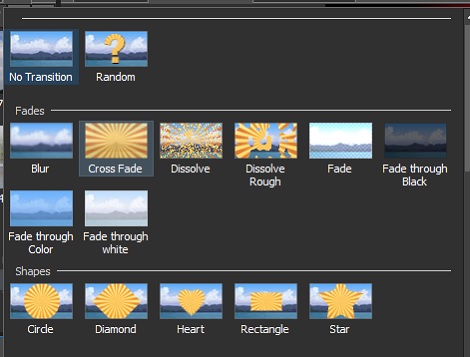
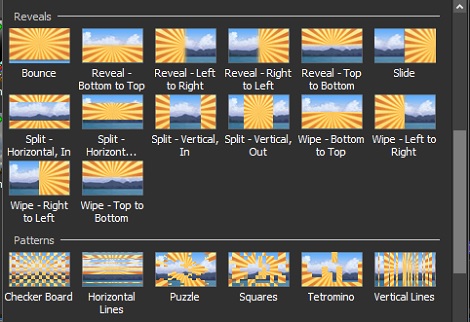
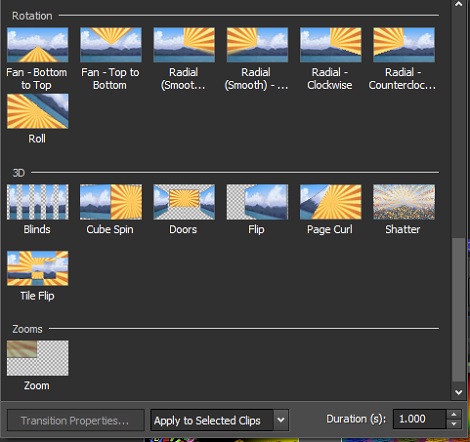
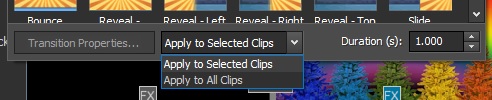
TRANSITIONS (This is what connects between one photo/video clip and the next)
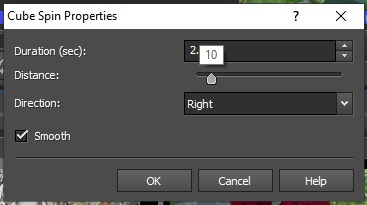
TRANSITION - Cube Spin
Using the ZOOM feature to zoom 'in' and 'out'
INTRODUCTION
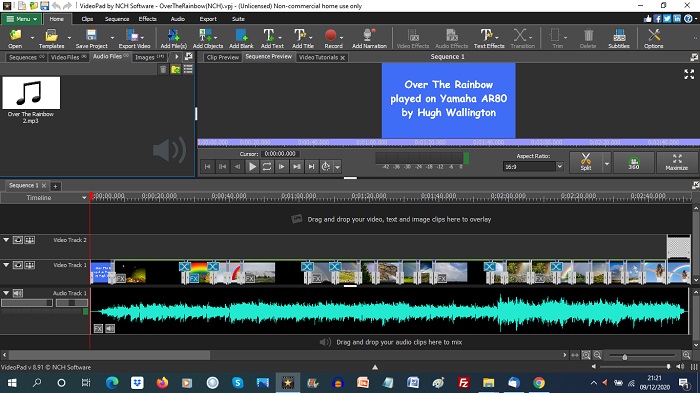
When you first run Video Pad this is what you see.
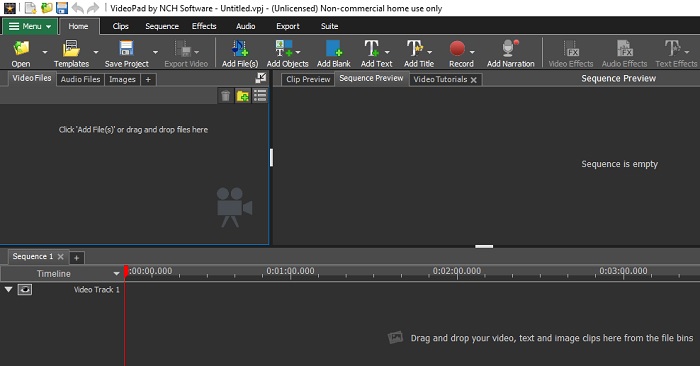
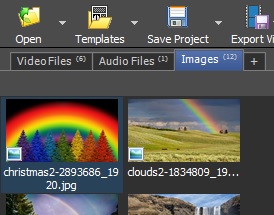
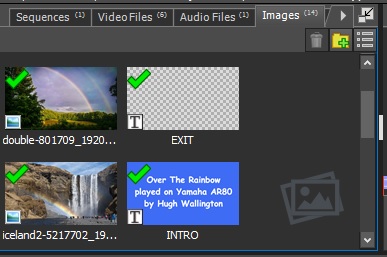
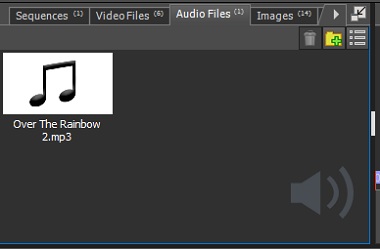
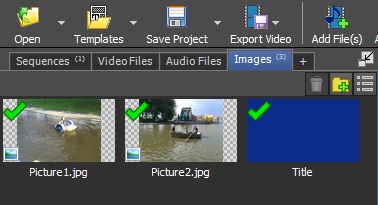
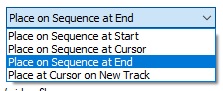
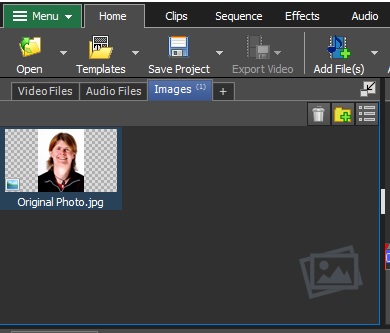
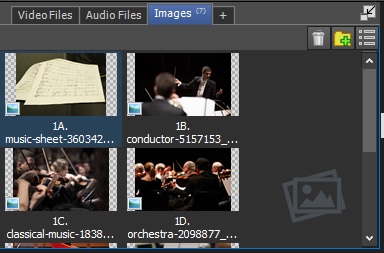
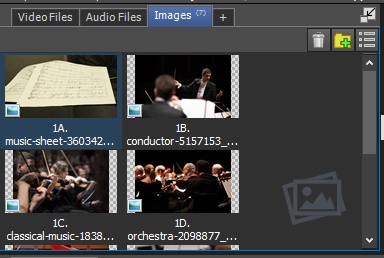
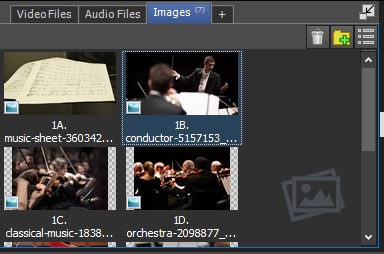
You start by clicking on Add File(s) at the top which will put all the files you want to use for this project into the box to the left. It is a good idea to first create a Folder on your computer and put into it all the pictures & videos and the MP3 file you are wanting to use so it's all ready and waiting. When the box comes up for you to select the files you want you can highlight them all, click on Open and they will all be put into that area. Note that there are three 'Bins' over the top, Video Files, Audio Files and Images. The program will automatically sort the files into their correct Bins.
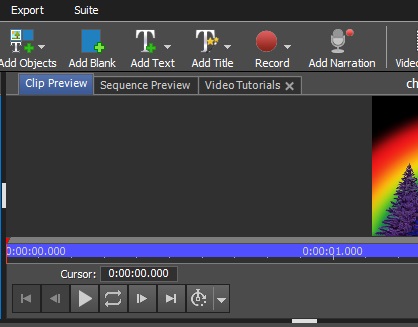
To get your project going you then click on the appropriate Bin for the file you want and click on it's picture. The file you have chosen will appear in the area on the right, and this is where you can work on the specific clip you have chosen. If you look at the top of the area on the right you will see Clip Preview and Sequence Preview. The 'Clip' is the clip you have just chosen, and the 'Sequence' is the whole video you have done so far. Click at the top for the one you want and you can 'Play' it (etc.) from the controls showing.
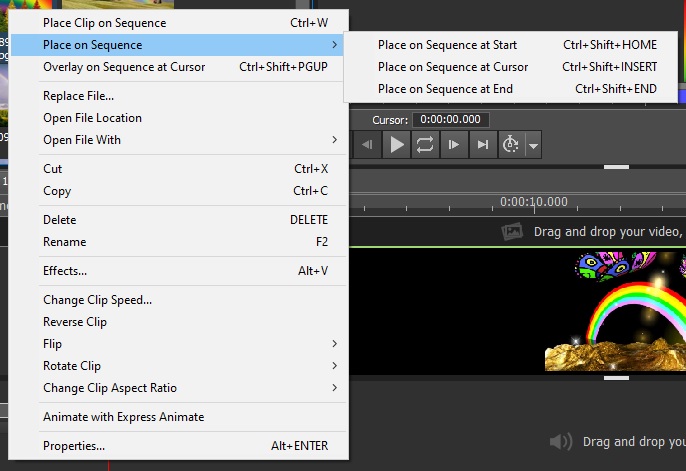
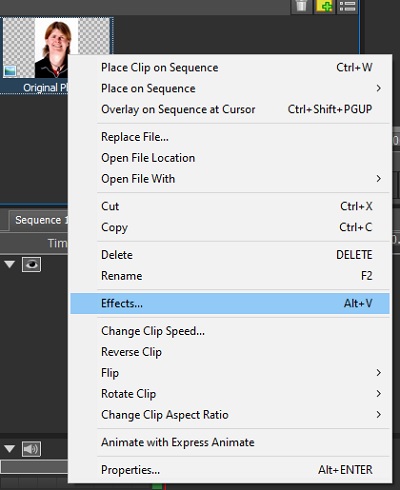
You then need to get the clip into the 'Sequence' at the place where you want it, and you can do this by dragging the file to Video Track 1 underneath. Or, you can do a right-click (you can do most of the things in this program by doing a right-click) and do a left-click on where you want it put.
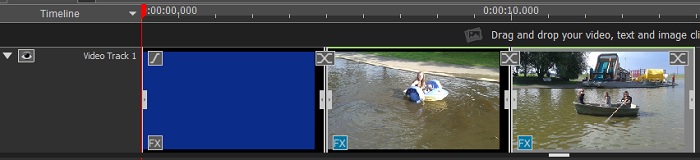
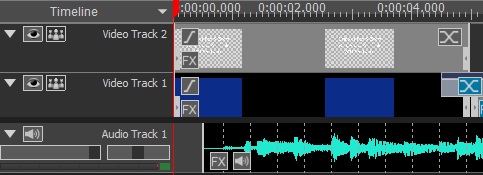
Your clip will now appear in the bottom section (the Sequence).
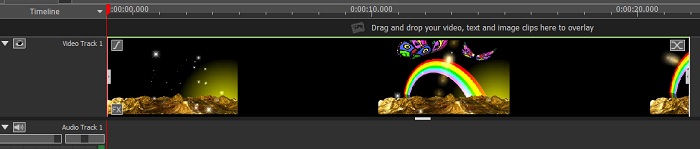
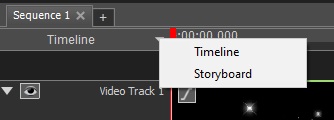
You will see at the top of this section the word Timeline, with a down-arrow beside it. Clicking on the down-arrow will give you two 'views' of the Sequence, one called the Timeline (the one we are looking at now) and one called the Storyboard. You can work from either.
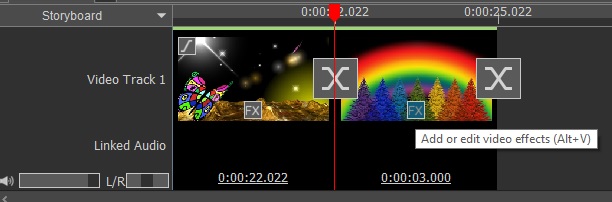
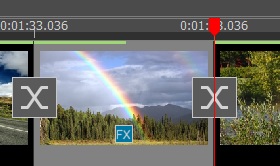
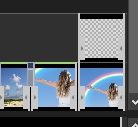
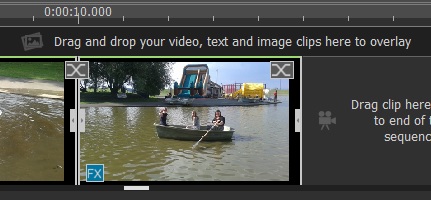
The Storyboard line looks like this.
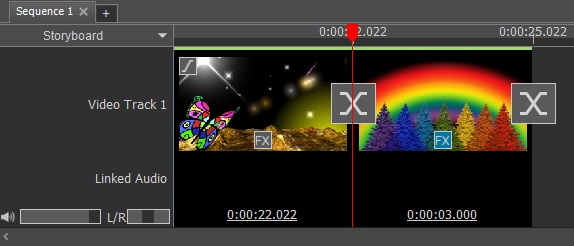
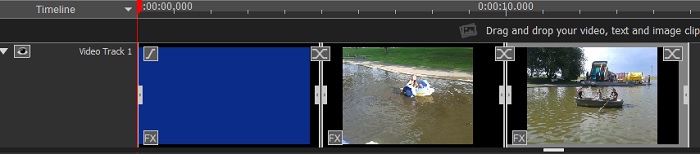
The big X between clips is where you click to put a TRANSITION. That's what happens between one clip and the next.
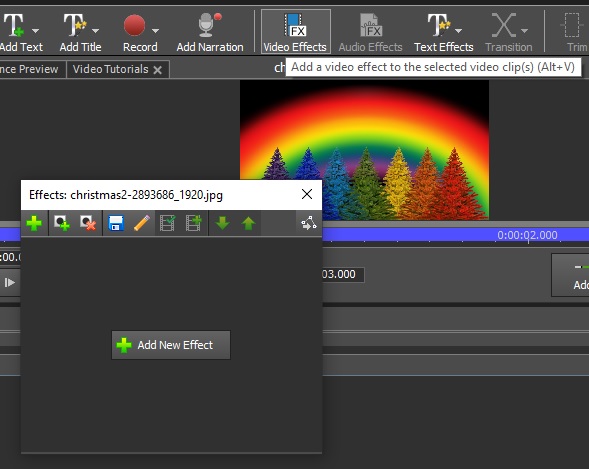
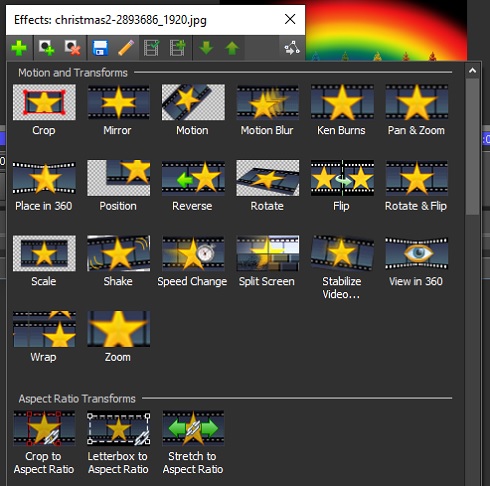
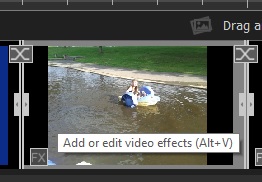
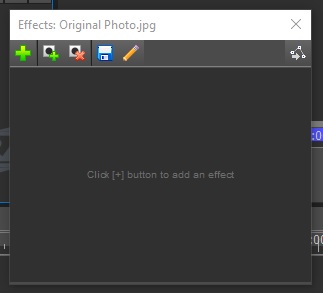
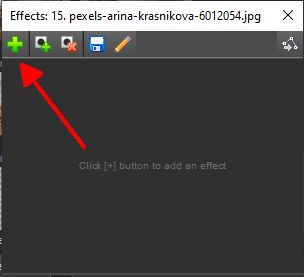
And you click on the FX if you want to do a Video Effect (Eg Pan and Zoom).
Of course these are the two things we want to be able to do.
As with other programs, once you have positioned a picture you can drag it about on the time line and put it where you want it.
Why haven't I put a YouTube video here for you to watch so you can pick up the essentials of doing this program? Well there are plenty about, including ones from NCH Software themselves, but they all overcomplicate things and they show you how to do things assuming you are going to make a blockbuster film to show in a Cinema. We just have simple photos and video clips we want to put with an MP3 we have done, so forget downloading some music that is Copyright free to go with our video! Our MP3 will probably be flagged up as Copyright material, but YouTube are not bothered about that as they have an agreement with the Copyright holders.
Not only that, but for a number of those videos the headings at the top are completely different to what I am showing you here. So these must be for an older version of Video Pad, and that doesn't help as every step they show you doesn't have any relevance to what the program is like now.
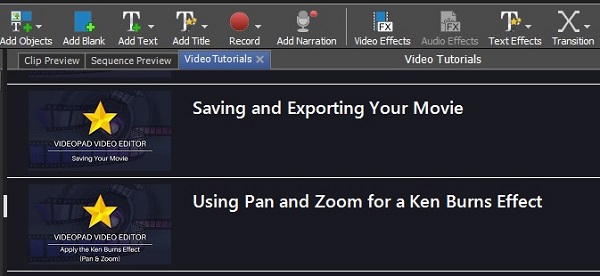
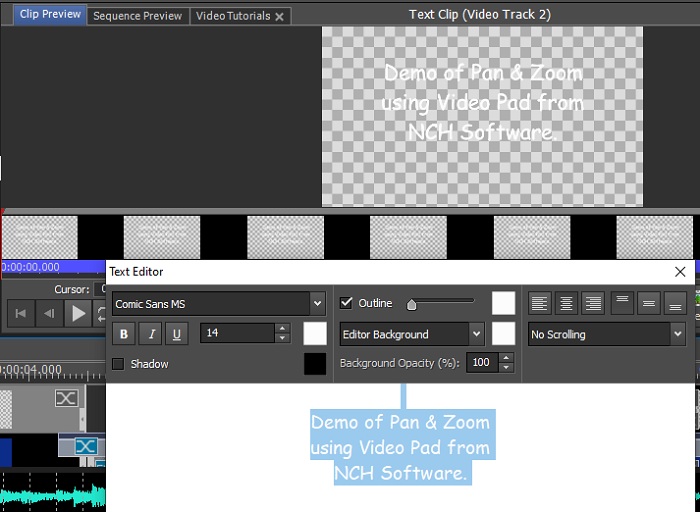
Having said that, there are some very good videos from NCH Software themselves that explain very clearly how to do specific things within the program. These are accessed from the program itself. At the top of the screen you will see Video Tutorials and if you click on that you get a drop-down list of what those videos are. So for example, watching the video on how to do Pan & Zoom is very helpful in sorting out what you can do and how to do it. You certainly have numerous options for doing most things, which makes this program very good for creating a video to show as you want it to.
I have now downloaded all the clips I want for my video, and in my next post I will set about doing those TRANSITIONS and PAN & ZOOM for each clip.
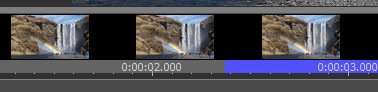
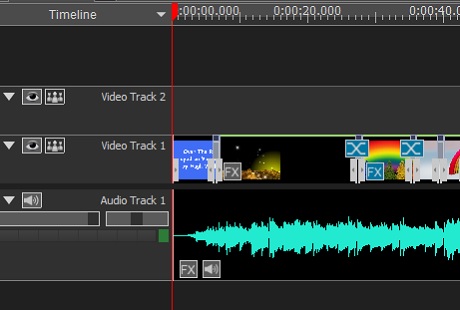
This is what my video looks like on the Timeline ...

... and this is what it looks like on the Storyboard.

Note that there is a bar underneath that you can drag to left and right to get the parts of the video you want into the middle of the screen.
It's probably easier to continue working on this project from the Storyboard view.
 ..
.. 


 .
.


 .....
..... 
 .....
.....