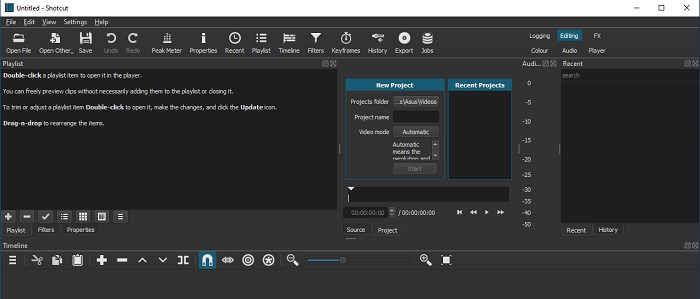
First, you need to get all the photos and video clips you are going to use into the
Playlist area on the left. I already have a Folder with all these in it on my laptop, so will click on
Open File in the top left hand corner, highlight all my files and click
Open, which will load all my files into the
Playlist in one go.
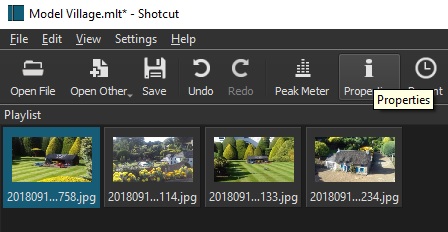
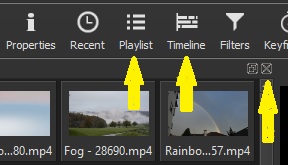
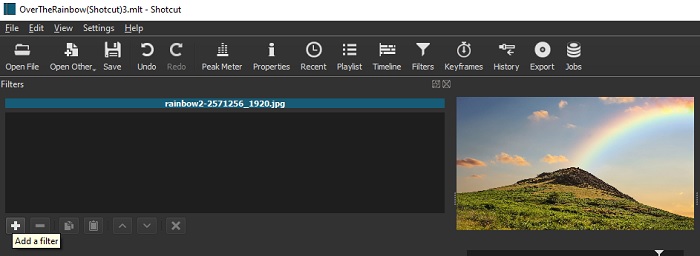
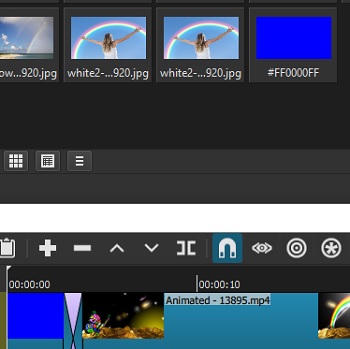
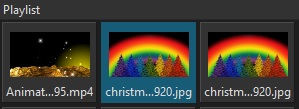
The default is to "View these as details", but I prefer to see them as thumbnail pictures that fill the screen. To get this view you click on the icon underneath the Playlist that shows nine squares in a block.
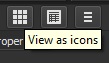
When I click on this I get this view.
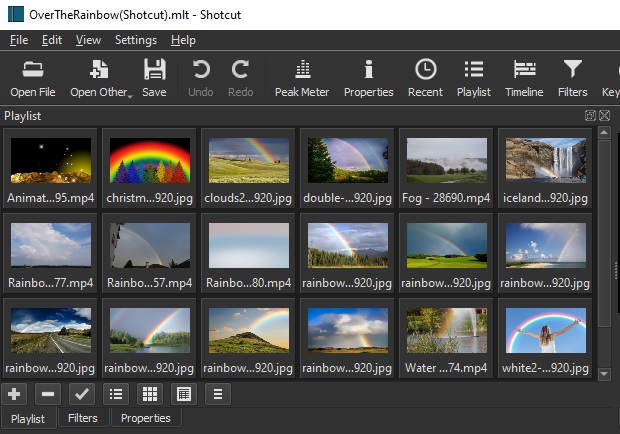
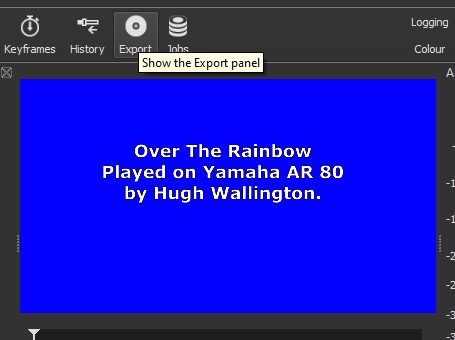
Double-clicking on a picture will load it into the 'view and play' window on the right, so if it's a video clip you can watch it. As Kevin Stratvert said in his video, you can 'trim' your video and remove bits you don't want by dragging those white arrows on the left and right across the 'play line' .. and even split the video to remove part of it.
Grabbing one of my picture/video files I can drag it and drop it on the
Timeline. But when I did this it just dropped it where I put it, so it either overlapped the clip before, or ended up on the timeline further on with an olive green box of nothingness in between.
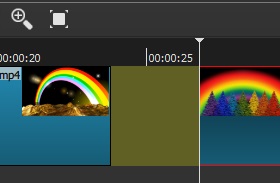
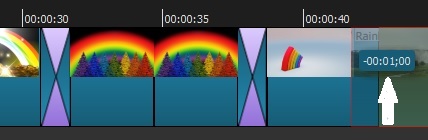
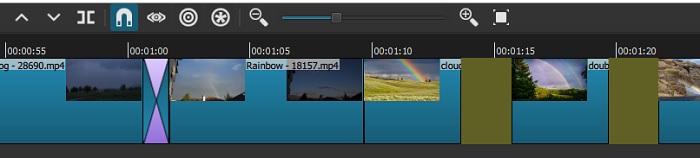
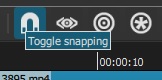
From watching Kevin's video, the answer to this is to click on the 'magnet' symbol (Toggle snapping) to activate it (as indicated by a dark blue surround) ..
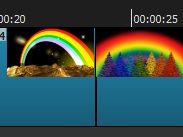
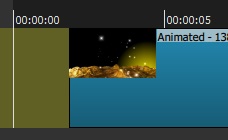
.. then grab my picture and pull it to the left until it 'sticks' like a magnet to the clip on it's left. You will then have no 'gaps' in your timeline. My picture now looks like this.
I also had a gap at the start of my video (the video starts at the white line on the left .. at 00:00:00.
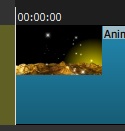
So grabbed that and moved it to the left until it 'stuck' too.
Watching what Kevin did in his video, I think I shall abort all of this and start again. On my laptop, Windows puts all my clips into
alphabetical order, but in the
Playlist you can move the clips around into whatever order you want .. and can have duplicates of them. So what I plan on doing now is to move all the clips in the Playlist into the order I want to use them, then 'highlight' them all .. and drop the whole lot onto the timeline in one go. Much quicker than dragging each one individually!
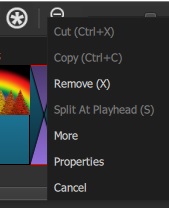
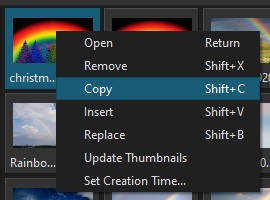
To make a Copy of a clip, you click on it, do a right-click and choose
Copy:
Then click on the clip again, do a right-click and choose
Insert. This will put your 'copy' to the
left of the original clip.
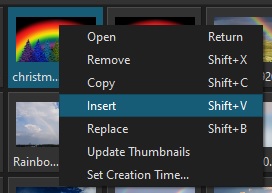
And now you have two of them.
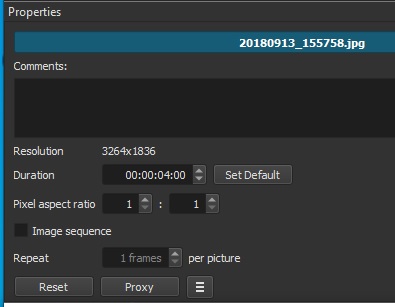
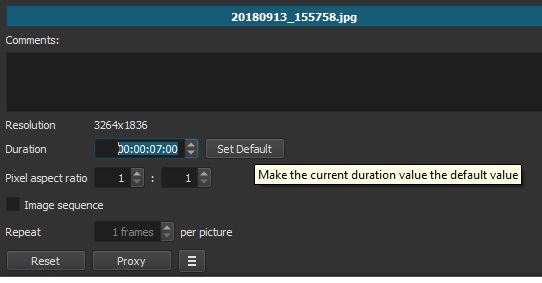
I can (hopefully) change the
time each clip shows, but what I had in mind for this was maybe to 'zoom in' on the first one; and then 'zoom out' on the second.
So I have made the 'copies' I wanted and sorted my clips on the
Playlist into the order I want them. Highlighted the first one, held down the Shift key and clicked on the last one .. which highlighted them all. Then dragged them down onto the
Timeline, which spread it across and way off the edge of the screen. In order to see it all I clicked on the symbol that fits the timeline to the computer's screen.

This is what I now have.

Note that I have an 'olive green' rectangle at the 00:00:00 which means I have a bit of 'blank' before the video starts. I won't remove this just now by grabbing and moving the first clip to the left (using the 'magnet' feature) as I may need this area for my Title?
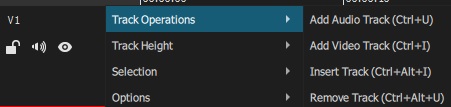
In order to get at the individual clips so I can put in some Transitions and Pans & Zooms (hopefully!) I can expand that Timeline again by pressing the
+ symbol over the top of the Timeline.
This is probably a good time to SAVE what I have done so far as I don't want to lose it all and have to start again! In the video he says click the SAVE icon at the top as you go along to 'save' your work.
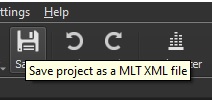
Trouble with this is that it
overrides what you had before. I always prefer to have a
New Name for a 'saved' file so you can go back to a previous 'save' if you make a real mess of it. This is rather like when creating a REGISTRATION on the keyboard. SAVE your work with eg. same name but with a
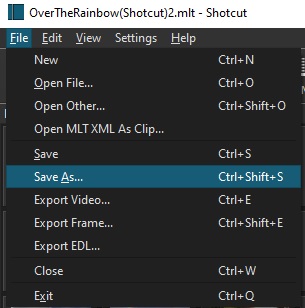
number after it. To do that here, click on the
Edit tab at the very top, and you get a dropdown box with a
Save As... option.
You will have noticed in the video that he mentions quite a few 'shortcuts' where you press buttons on your computer/laptop to carry out certain functions. Unless I were making videos constantly day in day out I would never remember what these were! So I prefer to work from the icons on the screen. When you hover your mouse over one it tells you what it does.
At the top of the
Shotcut screen there is a
Help tab. If you click on this you will find some Tutorials you can watch explaining how Shotcut works. The LINK below will take you the Tutorials page. One of the videos is the one I have already put up, by Kevin Stratvert.
Do a right-click to open this up in a New Tab.https://www.shotcut.org/tutorials/To be continued.


 ..
.. 

 ..
..